


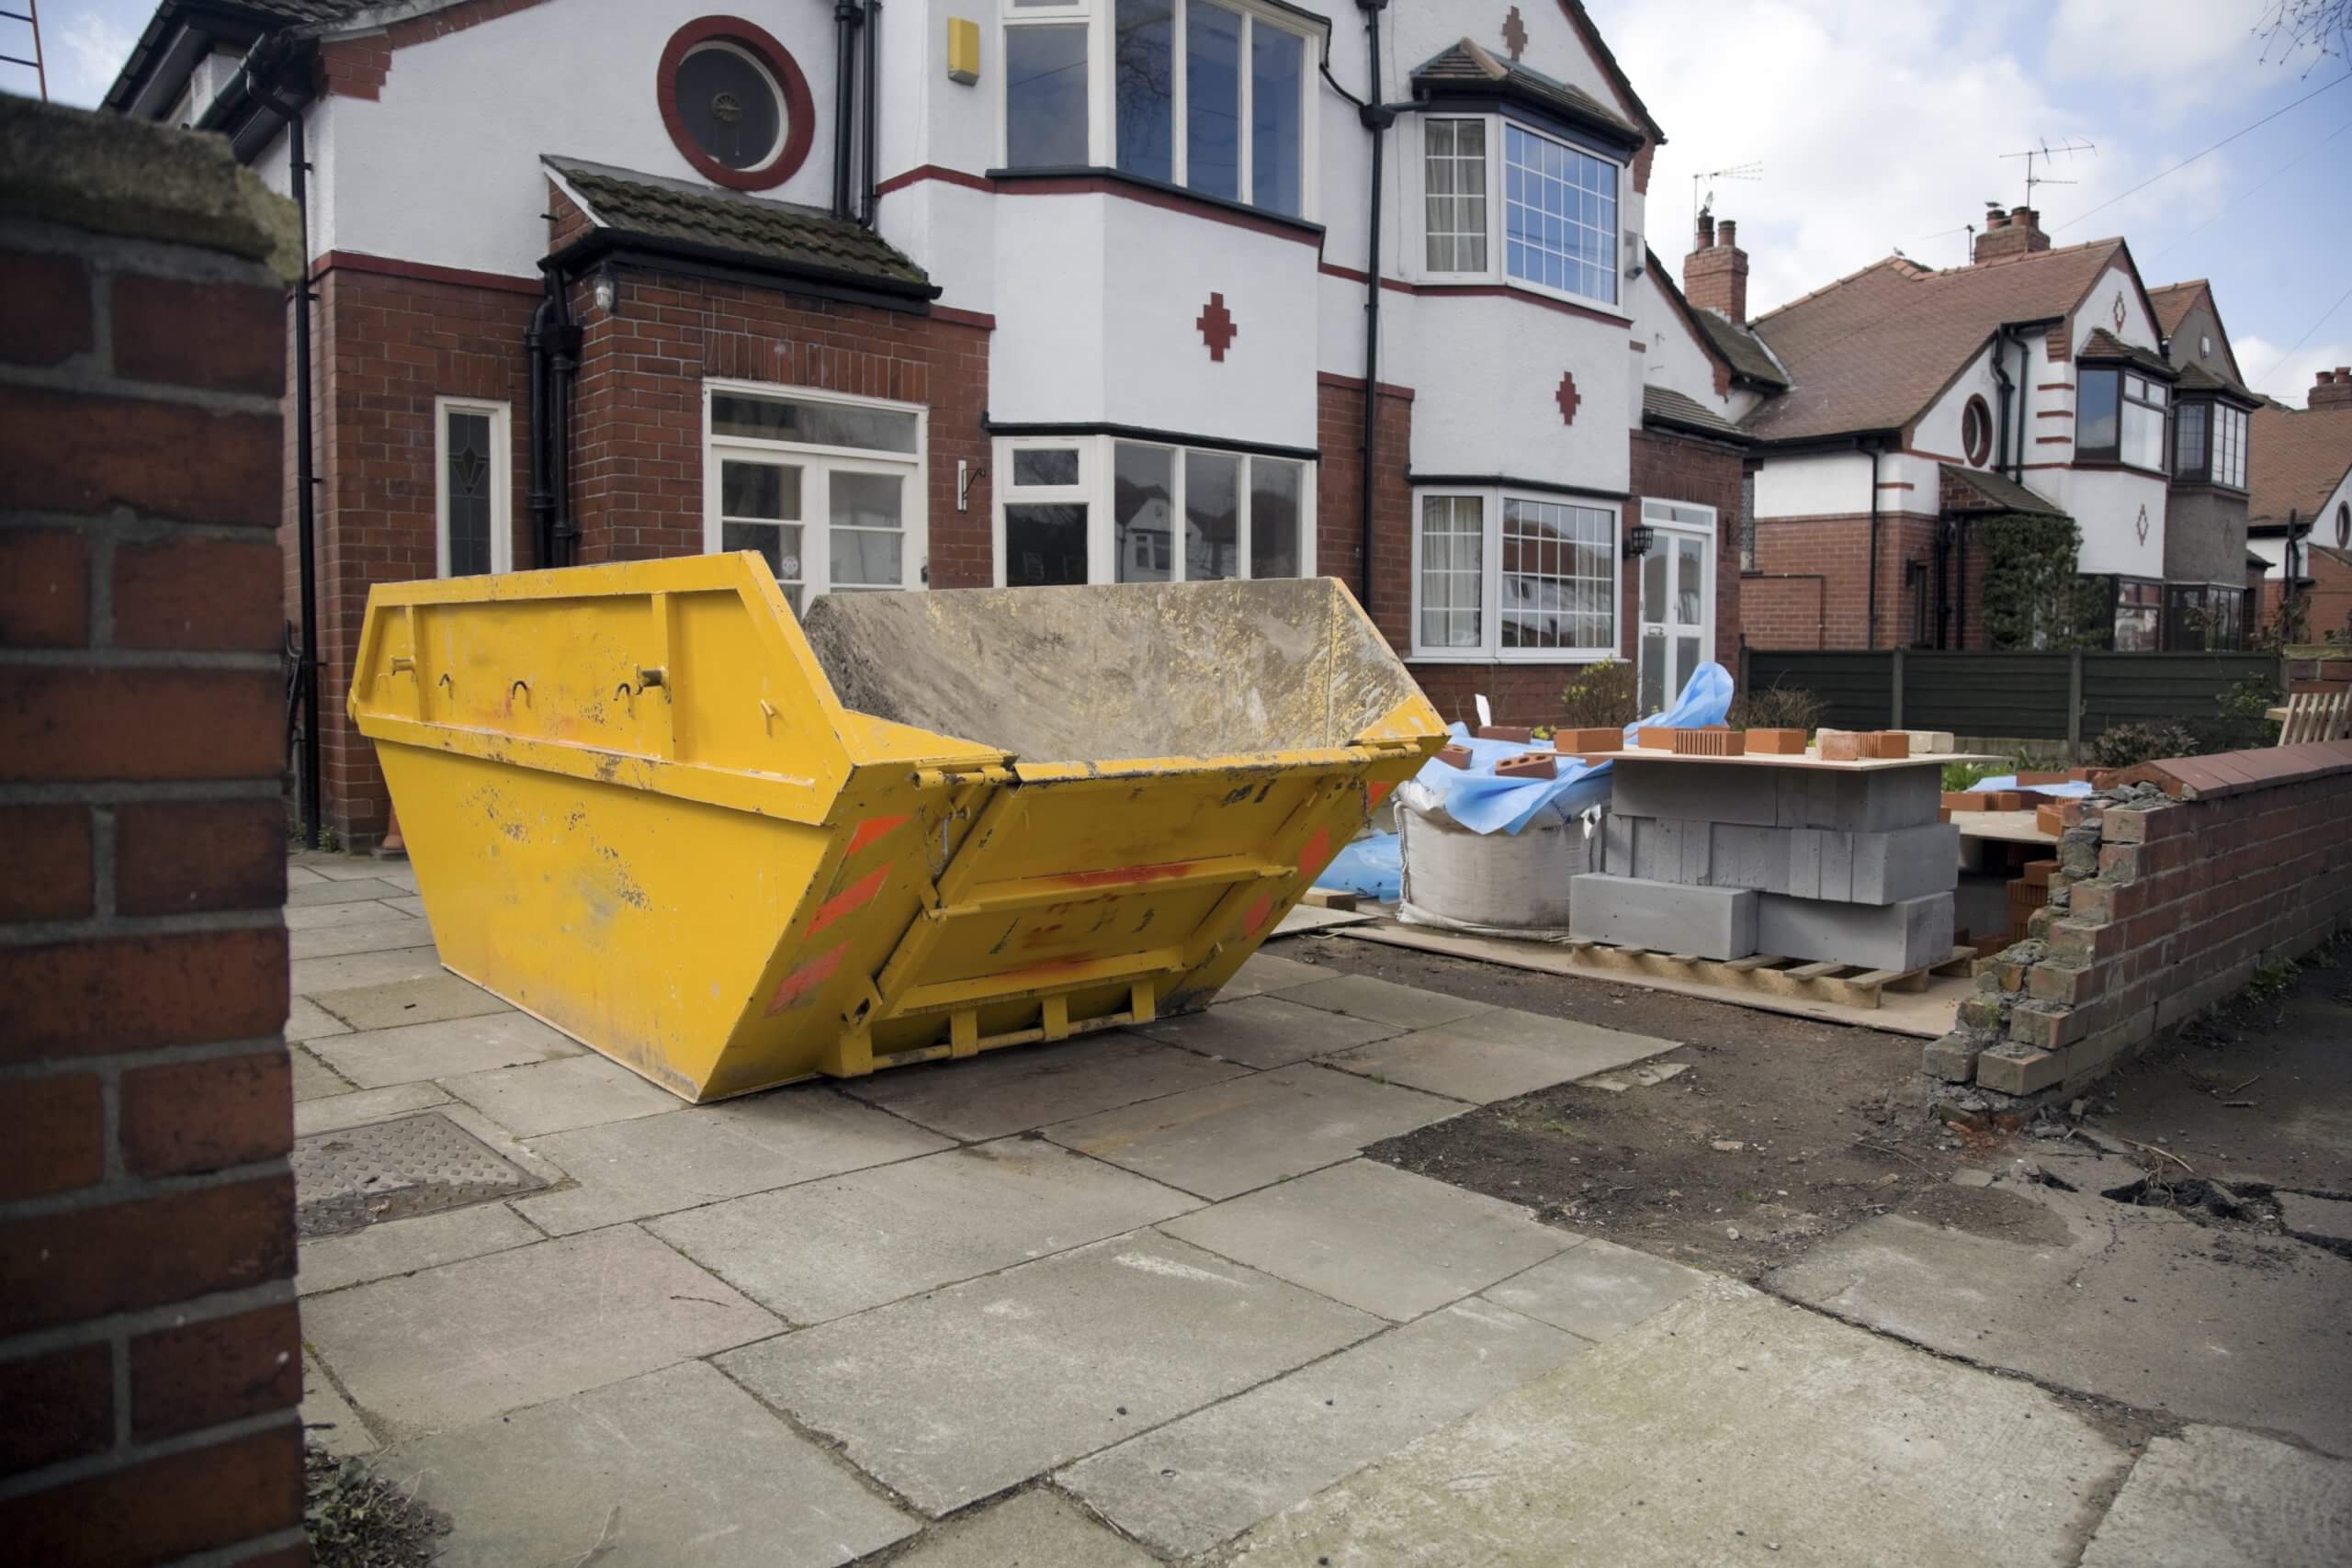
How to Load a Skip Effectively
The lockdown is over but life is still far from normal. If like us you’re still spending most of your time at home, why not consider doing up the house? You’ve got plenty of time on your hands these days — and we’ve got plenty of skips to help you out.
But whether you’re throwing out a few items or taking on a large-scale renovation project, it’s important to load your skip efficiently. Not only does this keep you and our workers safe, but it also prevents you from overspending on a large skip that you didn’t need, or worse — getting charged for overfilling your skip.
Check out this month’s article to find the safest and most cost-effective way to load your skip.
What you can and can’t place in your skip
Hold up there buckaroo, you can’t just place anything in a skip. Some items are prohibited to keep you and our workers safe, so make sure to check this list before you start loading.
What you can’t put in a skip:
- Batteries
- Mattress
- Fridge
- Paint
- Asbestos
- Gas cylinders
- Computers
- Fluorescent tubes
- Tyres
- Garden waste
- Syringes
- Plasterboard
What you can put in a skip:
- Bricks
- Cardboard
- Paper
- Wood
- Plastic
- Textiles
- Soil
- PVC
- Glass
Tips for loading a skip efficiently
Loading a skip is like a game of tetris: you’ve got to make sure every space is filled.
Begin by separating your waste into four categories:
- Flat items — such as cardboard and paper
- Tessellate objects — such as bricks and tiles
- Bulky items — such as furniture and appliances
- Debris — such as soil and sand
Flat items
Begin with your flat items. And when we say flat, we mean flat. Flatten down any cardboard boxes before placing them into the skip. We don’t care how you do it — jump on them, mow them down with your car — just make sure they’re as 2-dimensional as you can get them.
Place your flat items into the bottom of the skip, but don’t stack them on top of each other. Instead, create a layer, and only begin stacking once the first layer is complete. The key to loading your skip effectively is to go layer by layer. Don’t be afraid to rip up your cardboard boxes or pieces of paper to fill any small gaps.
Tessellate objects
Next, load your tessellate items into the skip in — you’ve guessed it — layers. Tessellate items should be a piece of cake to load because they fit together. Just remember to fill as much space as you can on one layer before moving onto the next.
Bulky items
Here’s where it gets interesting. You’ll first need to break down your bulky items into smaller parts. If you are getting rid of a table, for example, you’ll want to try and remove the legs so that you can load the tabletop and legs separately. This is the best way to utilise all the available space.
Once you’ve deconstructed your bulky items, you’ll want to load them into your skip and fill as much space as you possibly can. You’ll need to be astute in your judgement here, but we have every faith in you.
Debris
Finally, fill all remaining pockets of space with your loose debris.
What happens if I overfill my skip?
We don’t just charge you for overfilling your skip because we’re mean (we’re not!), we have to do it because it keeps everyone safe. Skips that are too full are dangerous to transport; the items could easily fall out and hurt someone during the removal process. But don’t worry — follow the tips in this article and you won’t have any problems.
If you’re unsure which skip is best for your project, try out our skip size calculator or give us a call. Camiers offers various types of skips in a range of sizes. From 4-yard midi-skips to 12-yard enclosed skips, choose skip hire and we’ll deliver it to you promptly. We’ll also recycle as much of your waste as we can. On average, we recycle 90% of the waste we receive, but we aim to reach 100% in the not-so-distant future.